View your own models in Augmented Reality!
September 26, 2023 10:07 a.m.Diving into Augmented Reality and experiencing 3D models of geology is always a special treat for geomodellers, students, or just generally interested people. While we work out which features should come to GST[AR] next, we wanted to make it easier to access your own models within the app today, even without using a full stack GST instance! We have created a new Command Line Tool that helps you bring your models into the right format and save any required information in a JSON file. In this blog post, we will guide you through the process of hosting your own models and accessing them from within GST[AR].
Requirements
- A mobile device with GST[AR] installed (Android or iOS)
- A PC, Mac, or server that runs Windows, macOS or Linux that is accessible in your local network or over the internet
- A way to start an http server on that device (the tool has built in functionality that uses python3 to help you with that)
- A selection of GoCad or obj files
- Our free to use GST[AR] Endpoint Creator tool
Process
Group relevant 3D files
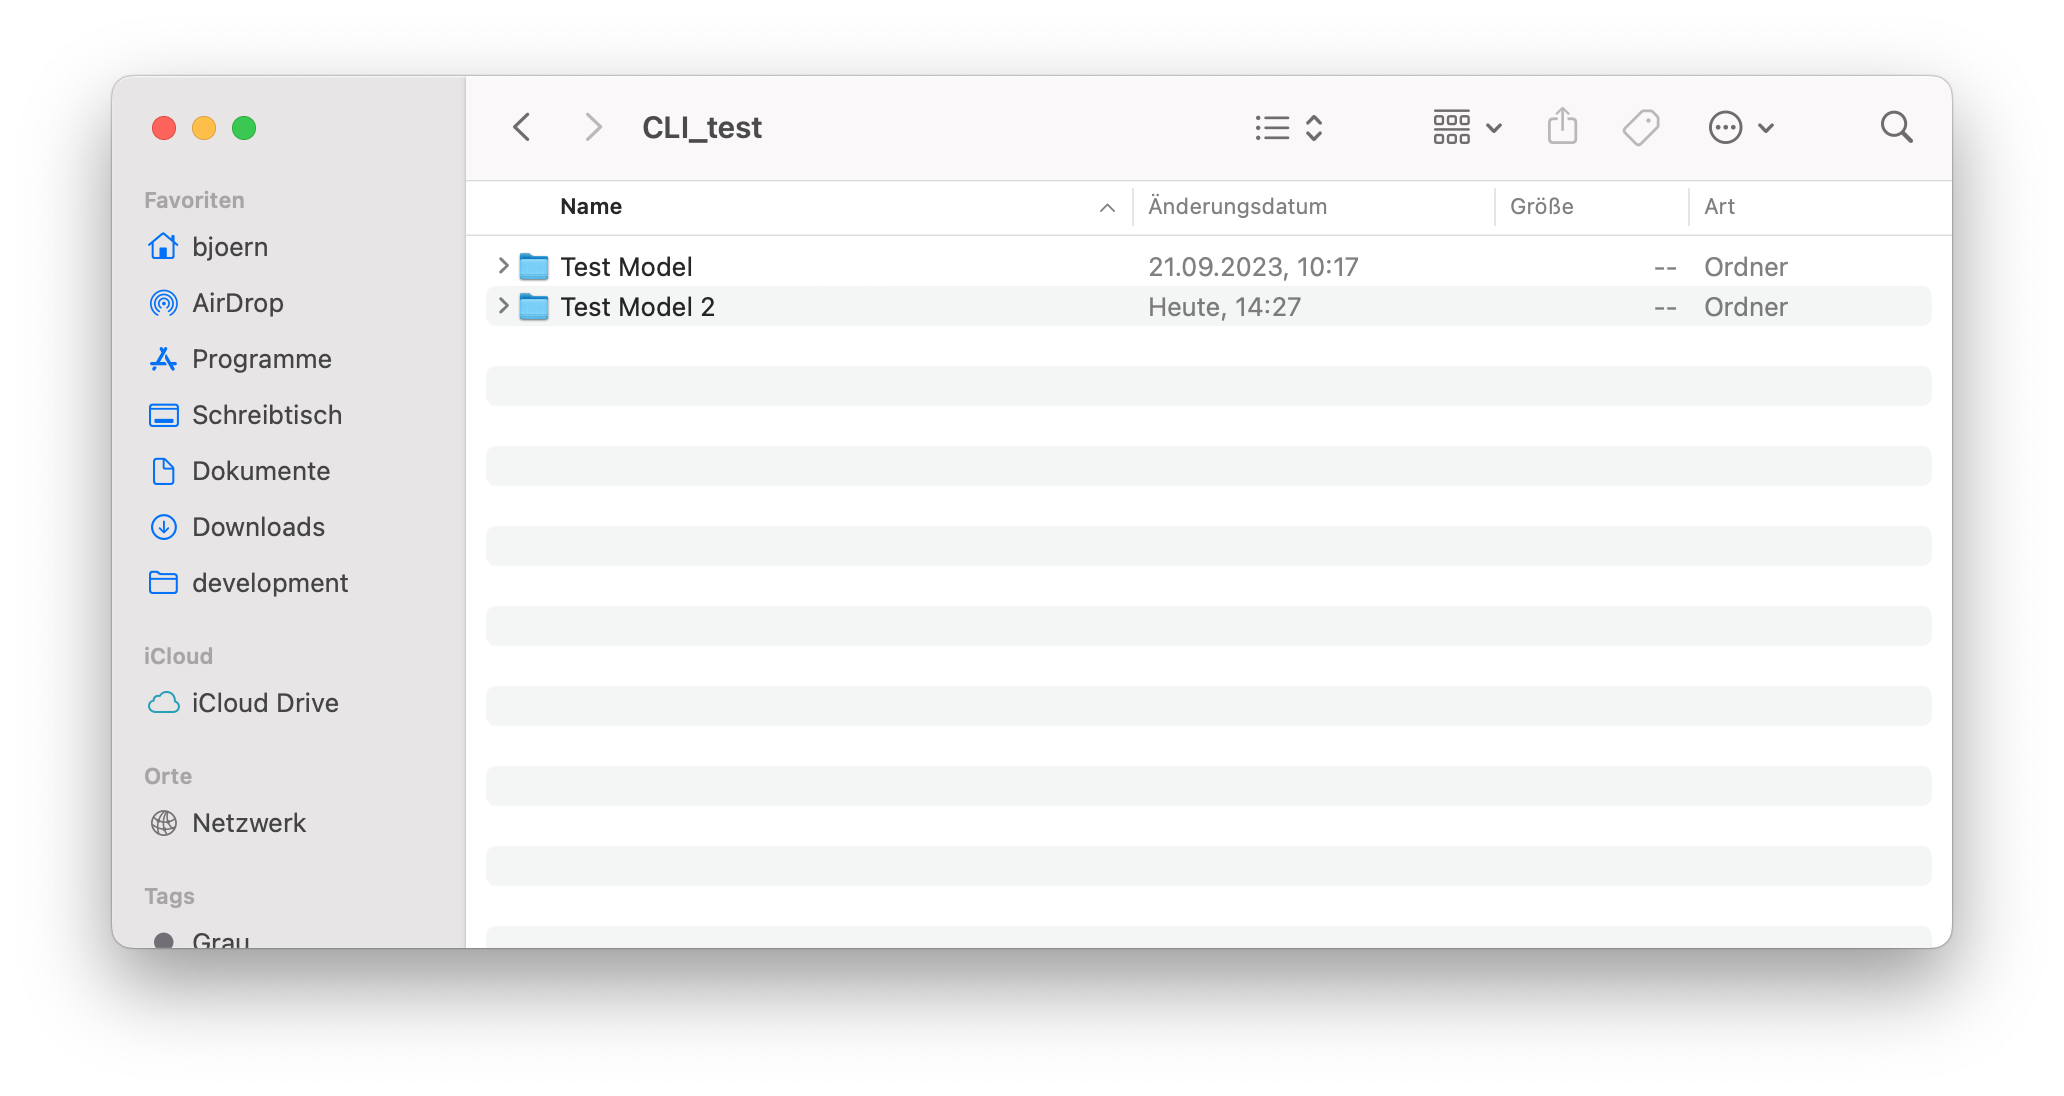
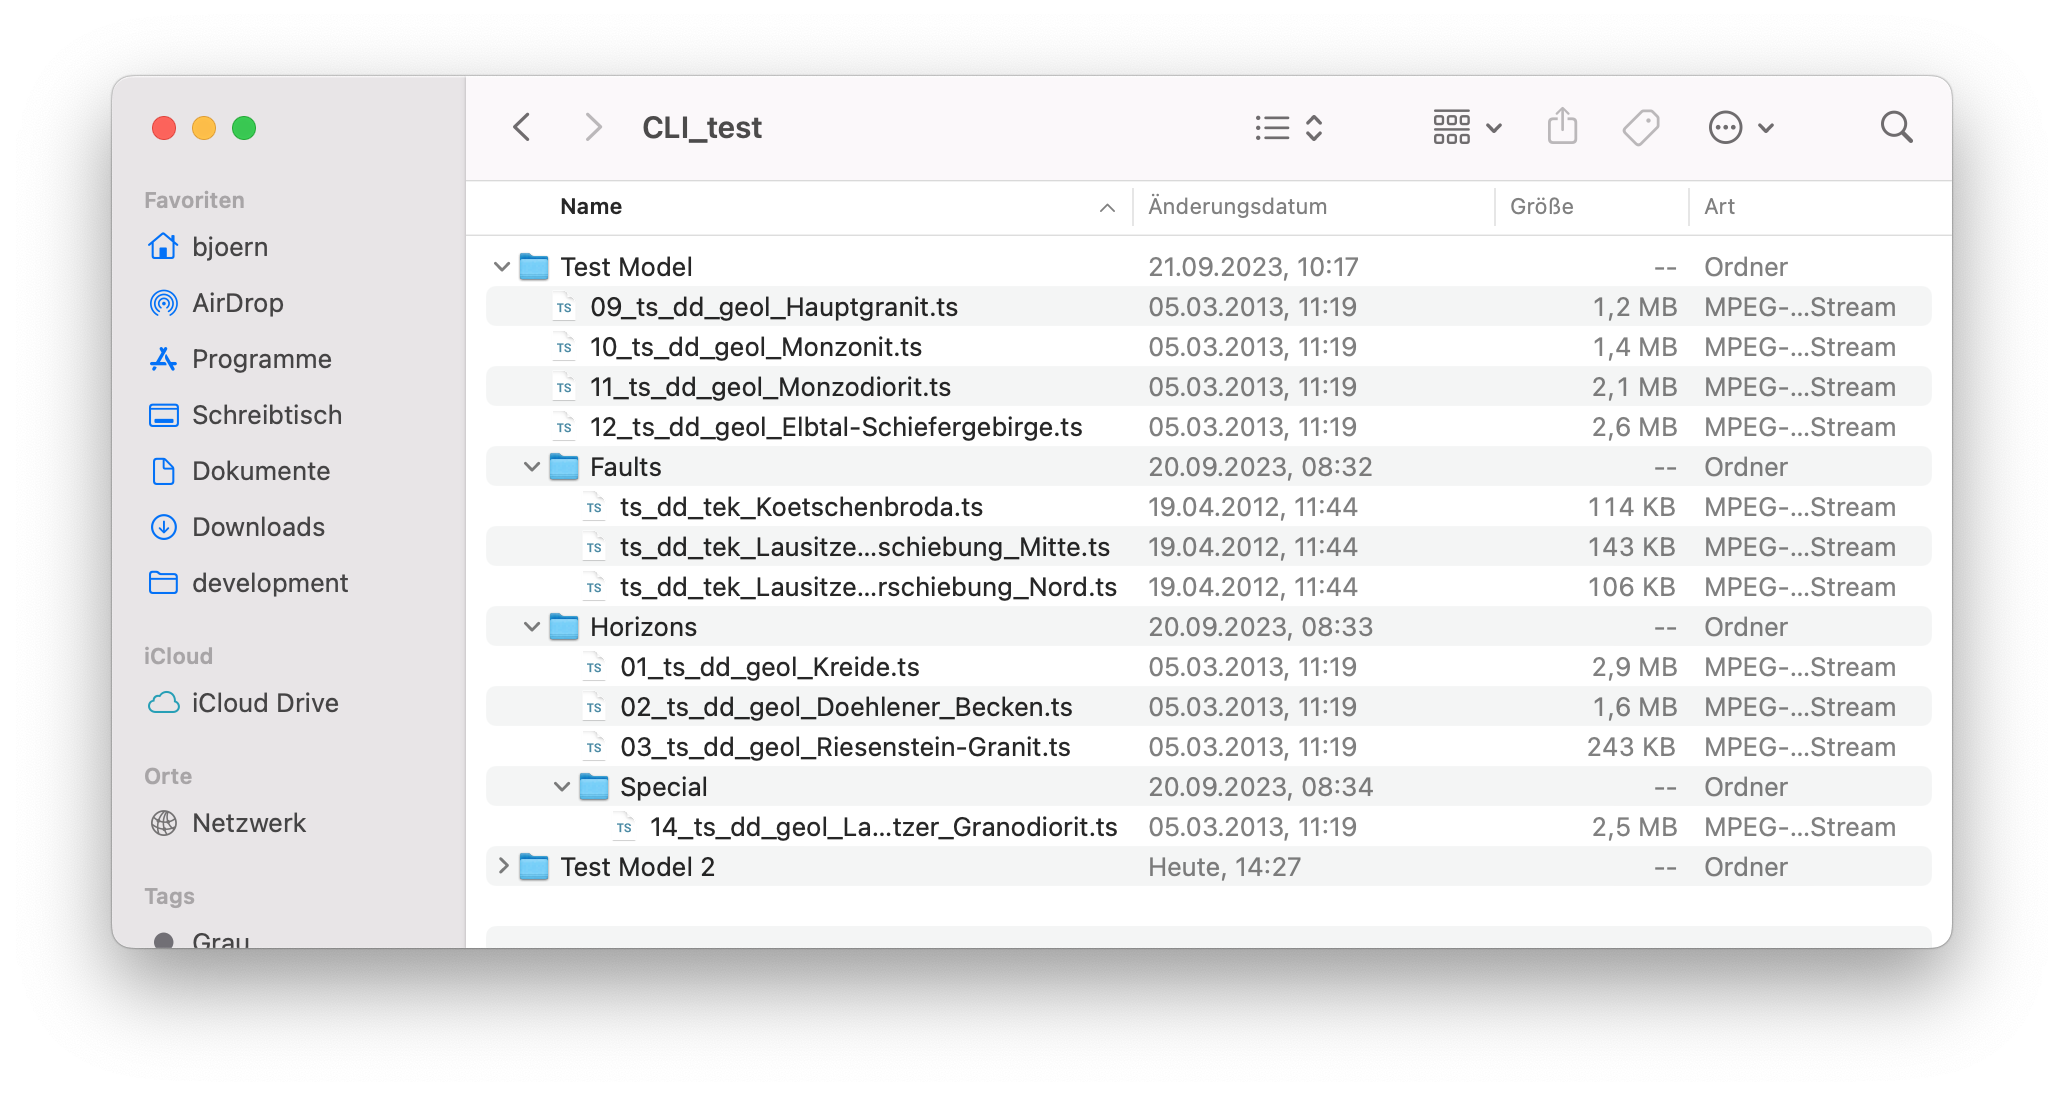
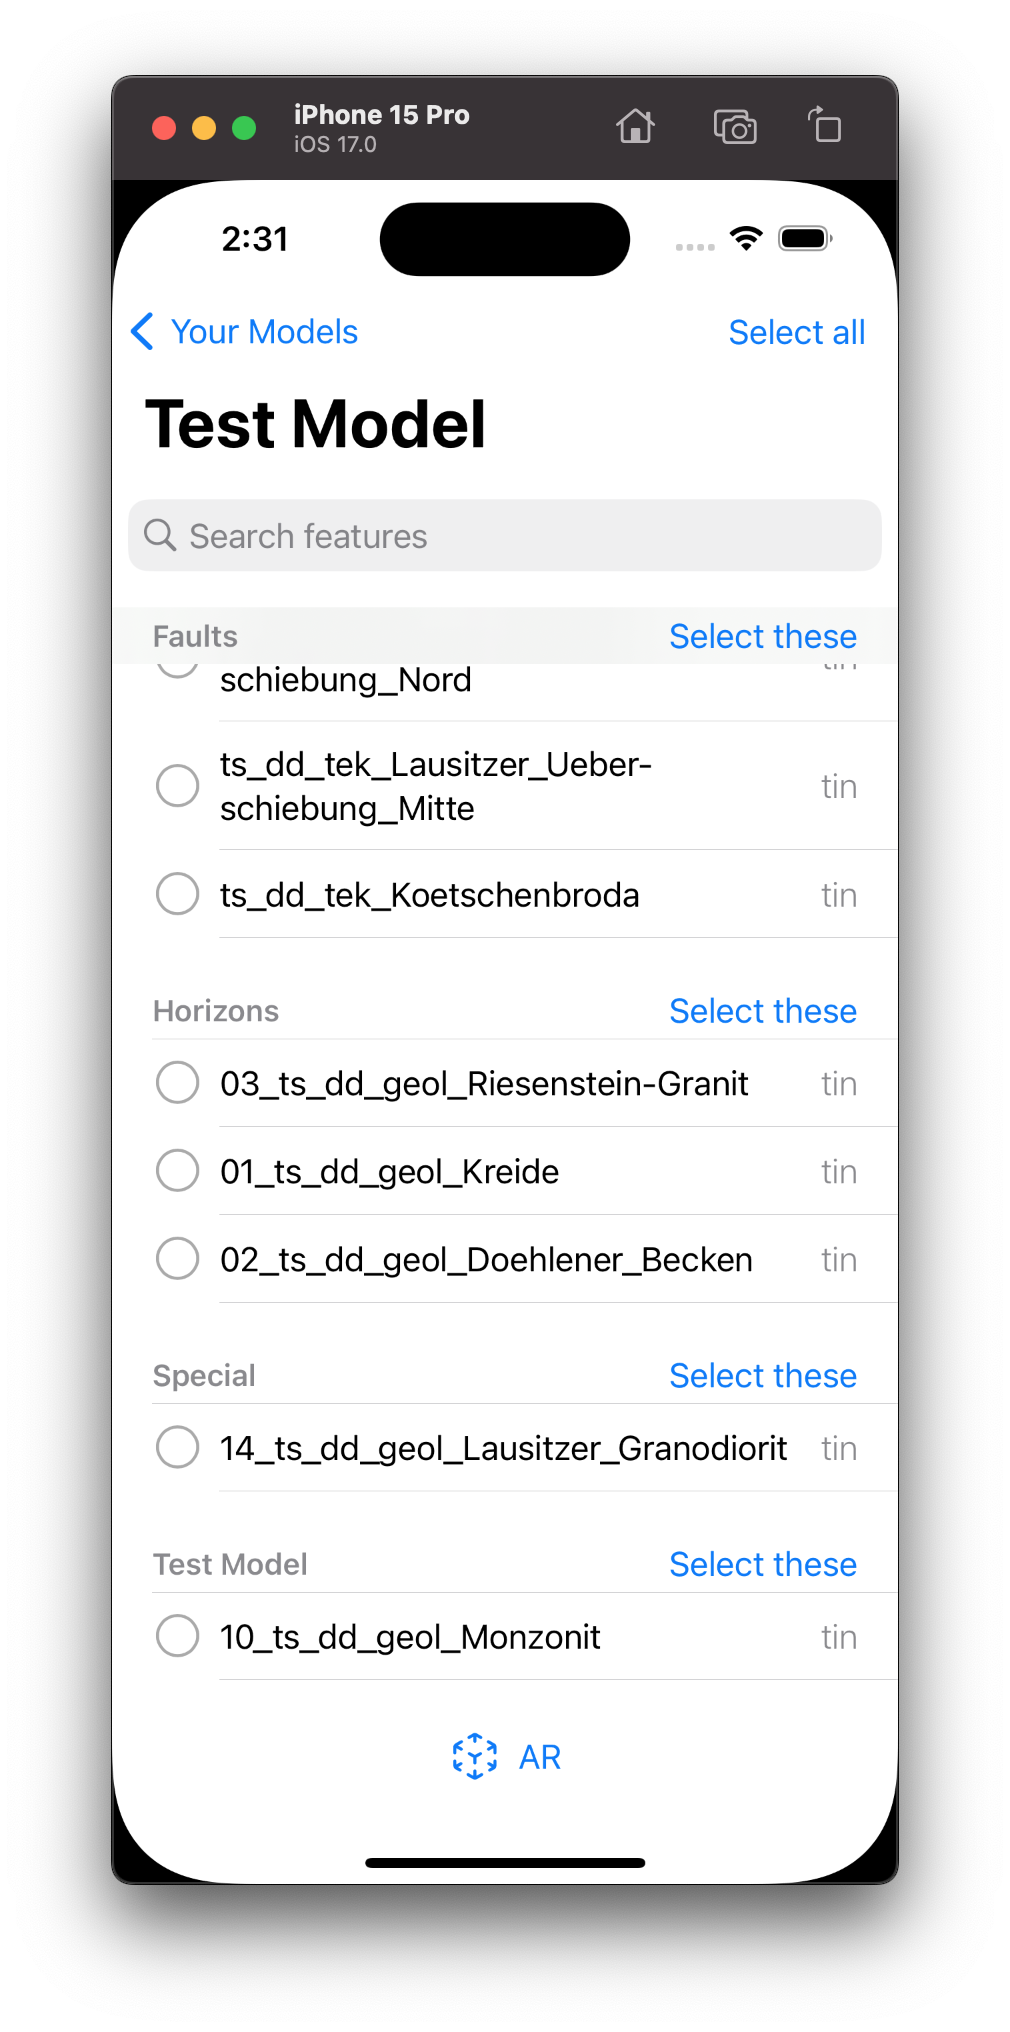
It won’t be a surprise for anyone familiar with GST Web that first we have to bring any 3D features of interest into a certain structure. What is otherwise known as GST’s „Model Management“ will now be handled by a simple directory structure. In our example we use the directory „CLI_test“ as our main directory. Inside this main directory we can create a new directory that will group all of our 3D features into a „model“. This model will appear in the „Your Models“ section of GST[AR]. In our case we simply call it „Test Model“. We are now free to put any 3D files into this directory and, after the necessary conversion steps, we would be able to see them from within the app. If necessary, files can be further grouped by using even more subdirectories. Note that only the immediate parent-directory-name will be relevant for a 3D feature inside the app. In our example, we have a couple of files directly inside „Test Model“. We have further grouped additional files into „Horizons“, „Faults“, and even a „Special“ directory inside „Horizons“. In the screenshot of the app, you can see the result of the grouping. Note that you can create any number of models underneath „CLI_test“ depending on your needs. So you can have a „Test Model 2“ directory if you wish so (or many many more).

Convert and host a directory to be compatible with GST[AR]
Now that we have our 3D files and directory structure in place it is finally time for our free to use CLI tool to come into play. Four parameters are available of which two will be required. The parameters are as follows:
- input-path: This needs to be set to the path to the main directory that we have created in the previous step („CLI_test“)
- output-path: This path needs to point to a directory (preferably empty) that can be hosted later. All converted 3D files as well as a JSON file be written to this directory.
- target-platform (optional): By default the tool will always create files that are compatible for both iOS and Android. Setting this parameter allows you to only support one of the two platforms.
- start-server (optional): We have included a way to start a simple web server. If the user passes this argument, the server will start right after the conversion progress. If everything works out well, the user can immediately access the models within the app afterwards.
So an example command to run the CLI tool would be:
./endpoint_creator --input-path ~/Desktop/CLI_test --output-path ~Desktop/CLI_test/output

Starting conversion process ...
Can't identify file without extension: /Users/bjoern/Desktop/CLI_test/Test Model/.DS_Store
Can't identify file without extension: /Users/bjoern/Desktop/CLI_test/Test Model/Horizons/.DS_Store
Successfully converted 11 geometries and wrote JSON file.
In this example we only create files for the usage with iOS and we also start the server at the end of the conversion process:
./endpoint_creator --input-path ~/Desktop/CLI_test --output-path ~/Desktop/CLI_test/output --target-platform ios --start-server
Starting conversion process ...
Can't identify file without extension: /Users/bjoern/Desktop/CLI_test/Test Model/.DS_Store
Can't identify file without extension: /Users/bjoern/Desktop/CLI_test/Test Model/Horizons/.DS_Store
Successfully converted 11 geometries and wrote JSON file.
Starting up server and hosting /Users/bjoern/Desktop/CLI_test/output ...
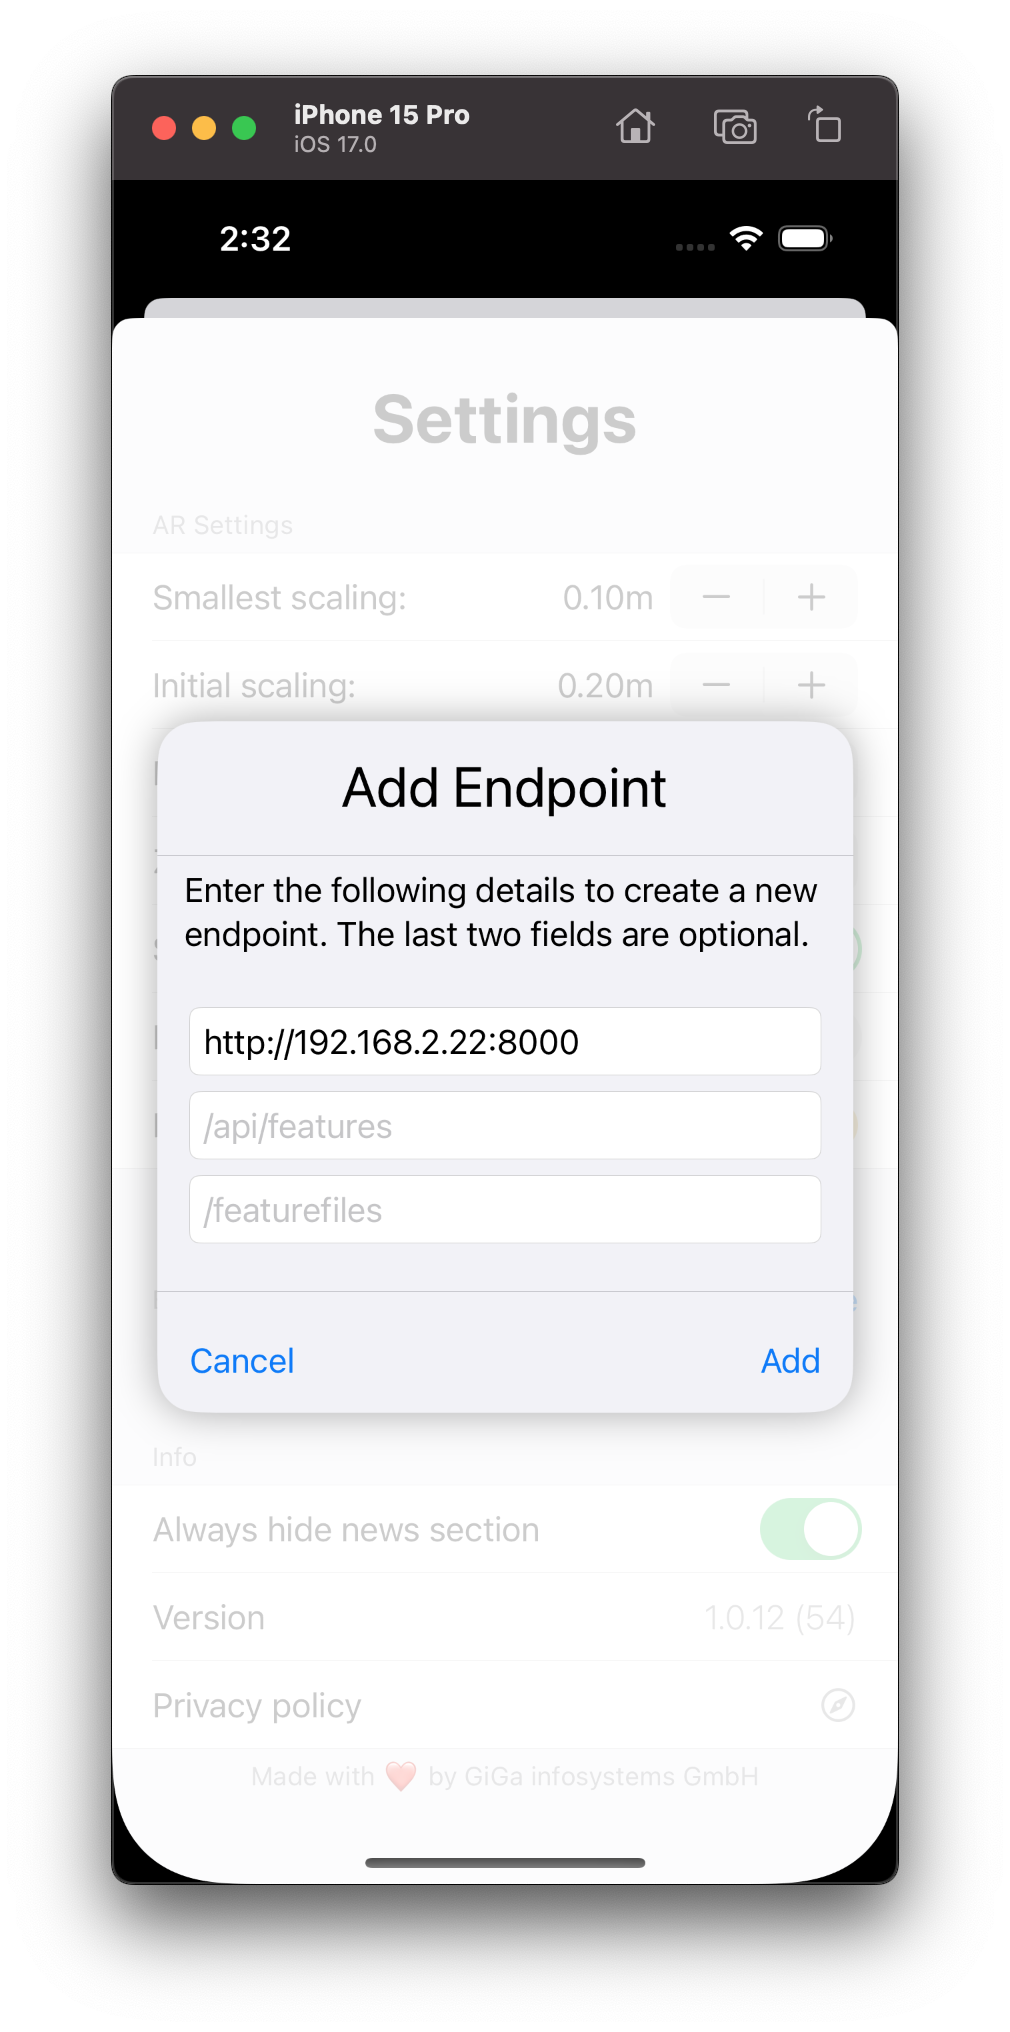
Manually add "http://192.168.2.22:8000" to your endpoints in GST[AR] to access your models now.This will only create usd files and host the directory in the end. Note that this server is only temporary and your models will no longer be accessible when you turn off your machine or stop the server process. For a more „production ready“ approach use your own web servers if available or use (free) services, like Netlify.
For Windows: Should you not have Python 3 installed you can quickly do so by installing it from the Microsoft Store for free.
Add endpoint to GST[AR] and view your own model
Are all your files converted and the output is hosted in some way, you only need to add the address (either local network or over the internet) to your endpoints in GST[AR]. Should you use the built in server, the exact address is printed out for you. Just copy that address and refresh your models. Only the first URL is required, the other two paths can stay empty. Now you should see all your models and features that resemble the structure that you created beforehand.
We hope you enjoy exploring your own models with GST[AR]! Don’t forget that you can collaboratively share your view of these models with other local devices as well (as long as they are within the same network)! Should you have any questions or feedback, maybe even wishes for future features, don’t hesitate to get in contact with us: info@giga-infosystems.com